
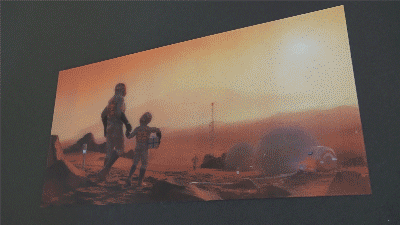
The raw 3d-motive that we wanted to use for our holographic card
holographic – lenticular prints
I am sure you know these holographic postcards – I had a beautiful Boeing 747 Poster, when I was a kid, somewhen in the 80s. I always loved the depth of these motives and even more so that the technique has actually been around for so long.
So for the Xmas Card 2017 we wanted to see how we could get it done it with our own cgi. The cg-process is actually fairly straightforward – you render out a sequence of images like any flythrough animation. First thing we learned it’s not only 2 images, it’s a whole bunch. So anything between 18-30 images should be sufficient.
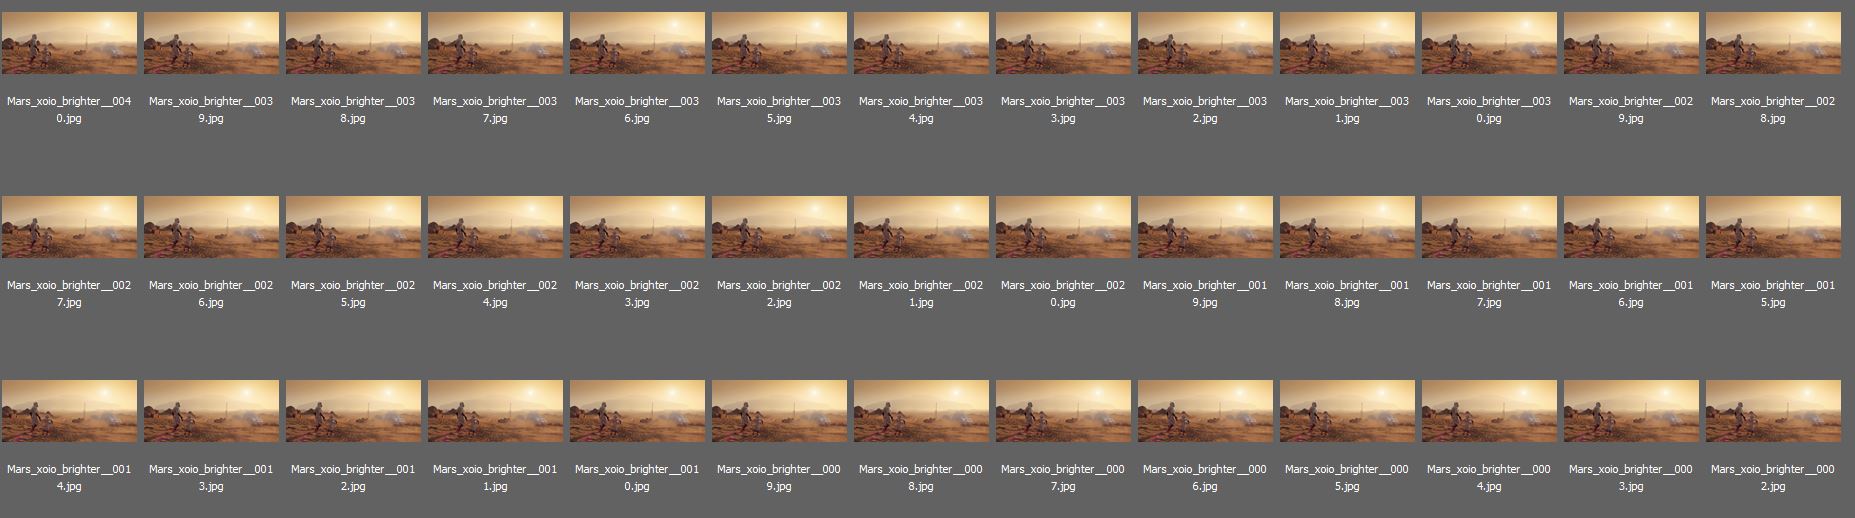
We rendered up to 40 images to allow for an optimum selection for the best effect.
Fitting them all together resulted in an impression like the following gif:
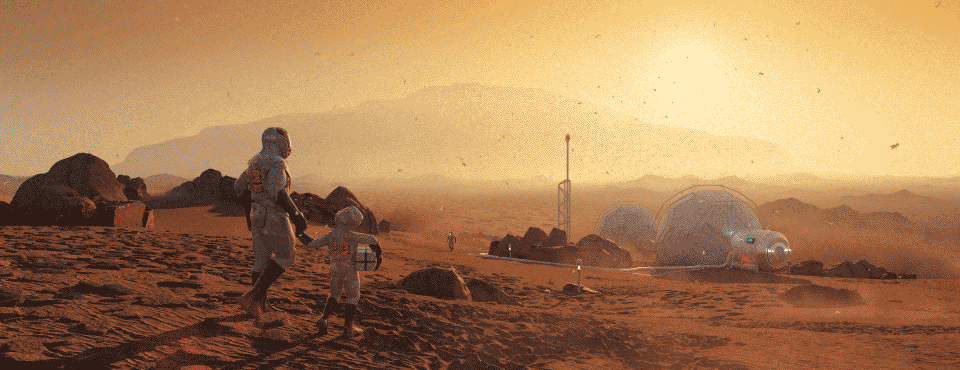
Note that the target point is in the infinity – That will later be changed by pinning a focus layer – for example the astronauts.
But there is quite some science to it: At first not all motives are working well. In fact the object you are showing needs to be well adapted to the holographic technique. If you strive for a maximum effect you should have a focus object in the center of your scene and some background and some foreground. In that sense our motive wasn’really working that well, sicne the main object of focus – the astronauts were quite in the foreground. Therefor we adapted the composition at a later stage again
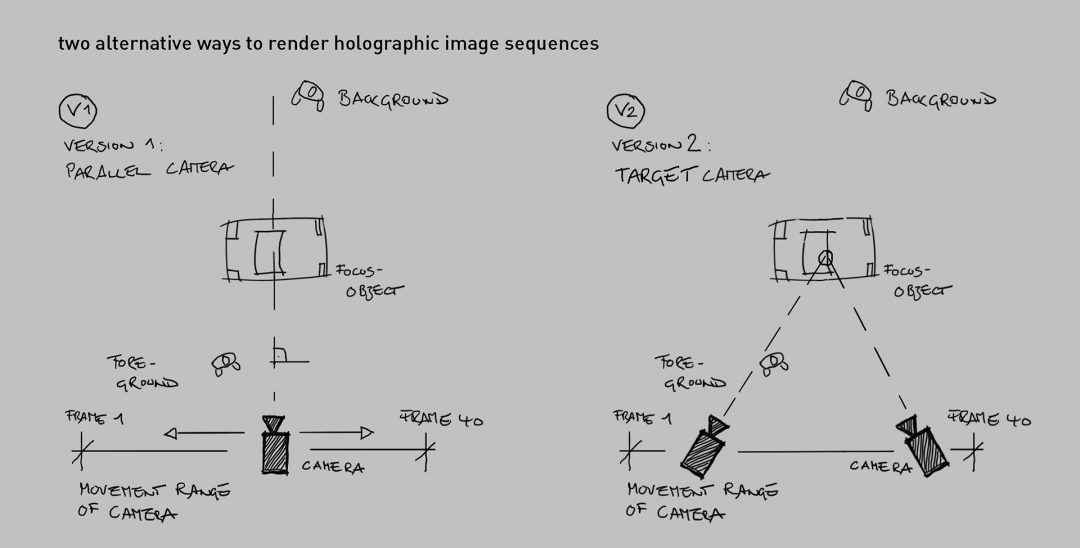
The following graph shows quite well what works. The scene has also quite large influences how long the camera movement can be. Basically if you want objects to be fairly sharp you should not have them move too far from left to right. It can be attractive to have a few objects out of focus close to the camera, but if it’s too many or too close it is just a blurry mist.
In our case, honestly, we rearranged the whole setup after an inital print.
After all this there are other contributing factors: There are different lenses available, with different line widths. Generally the wider the lens the more depth can be achieved, but the less sharp the motive gets. We used a 100 LPI (lenses per inch) print.

The print data, after the image sequence was sliced. One can see quite clear, how the astronaut now is the center of focus.
Last but not least the print itself is superimportant. If the resolution is not high enough you start really seeing the single color dots more prominently resulting in a noisy impression. Please consider that the DPI value is misleading, because each pixel is consisting of several printed dots. Therefor the PPI (pixel per inch) value is actually more relevant ( most printer manufacturers resolve to the more impressive DPI-value, which is sometimes ranging in the thousands, while the PPI-Value is much lower.
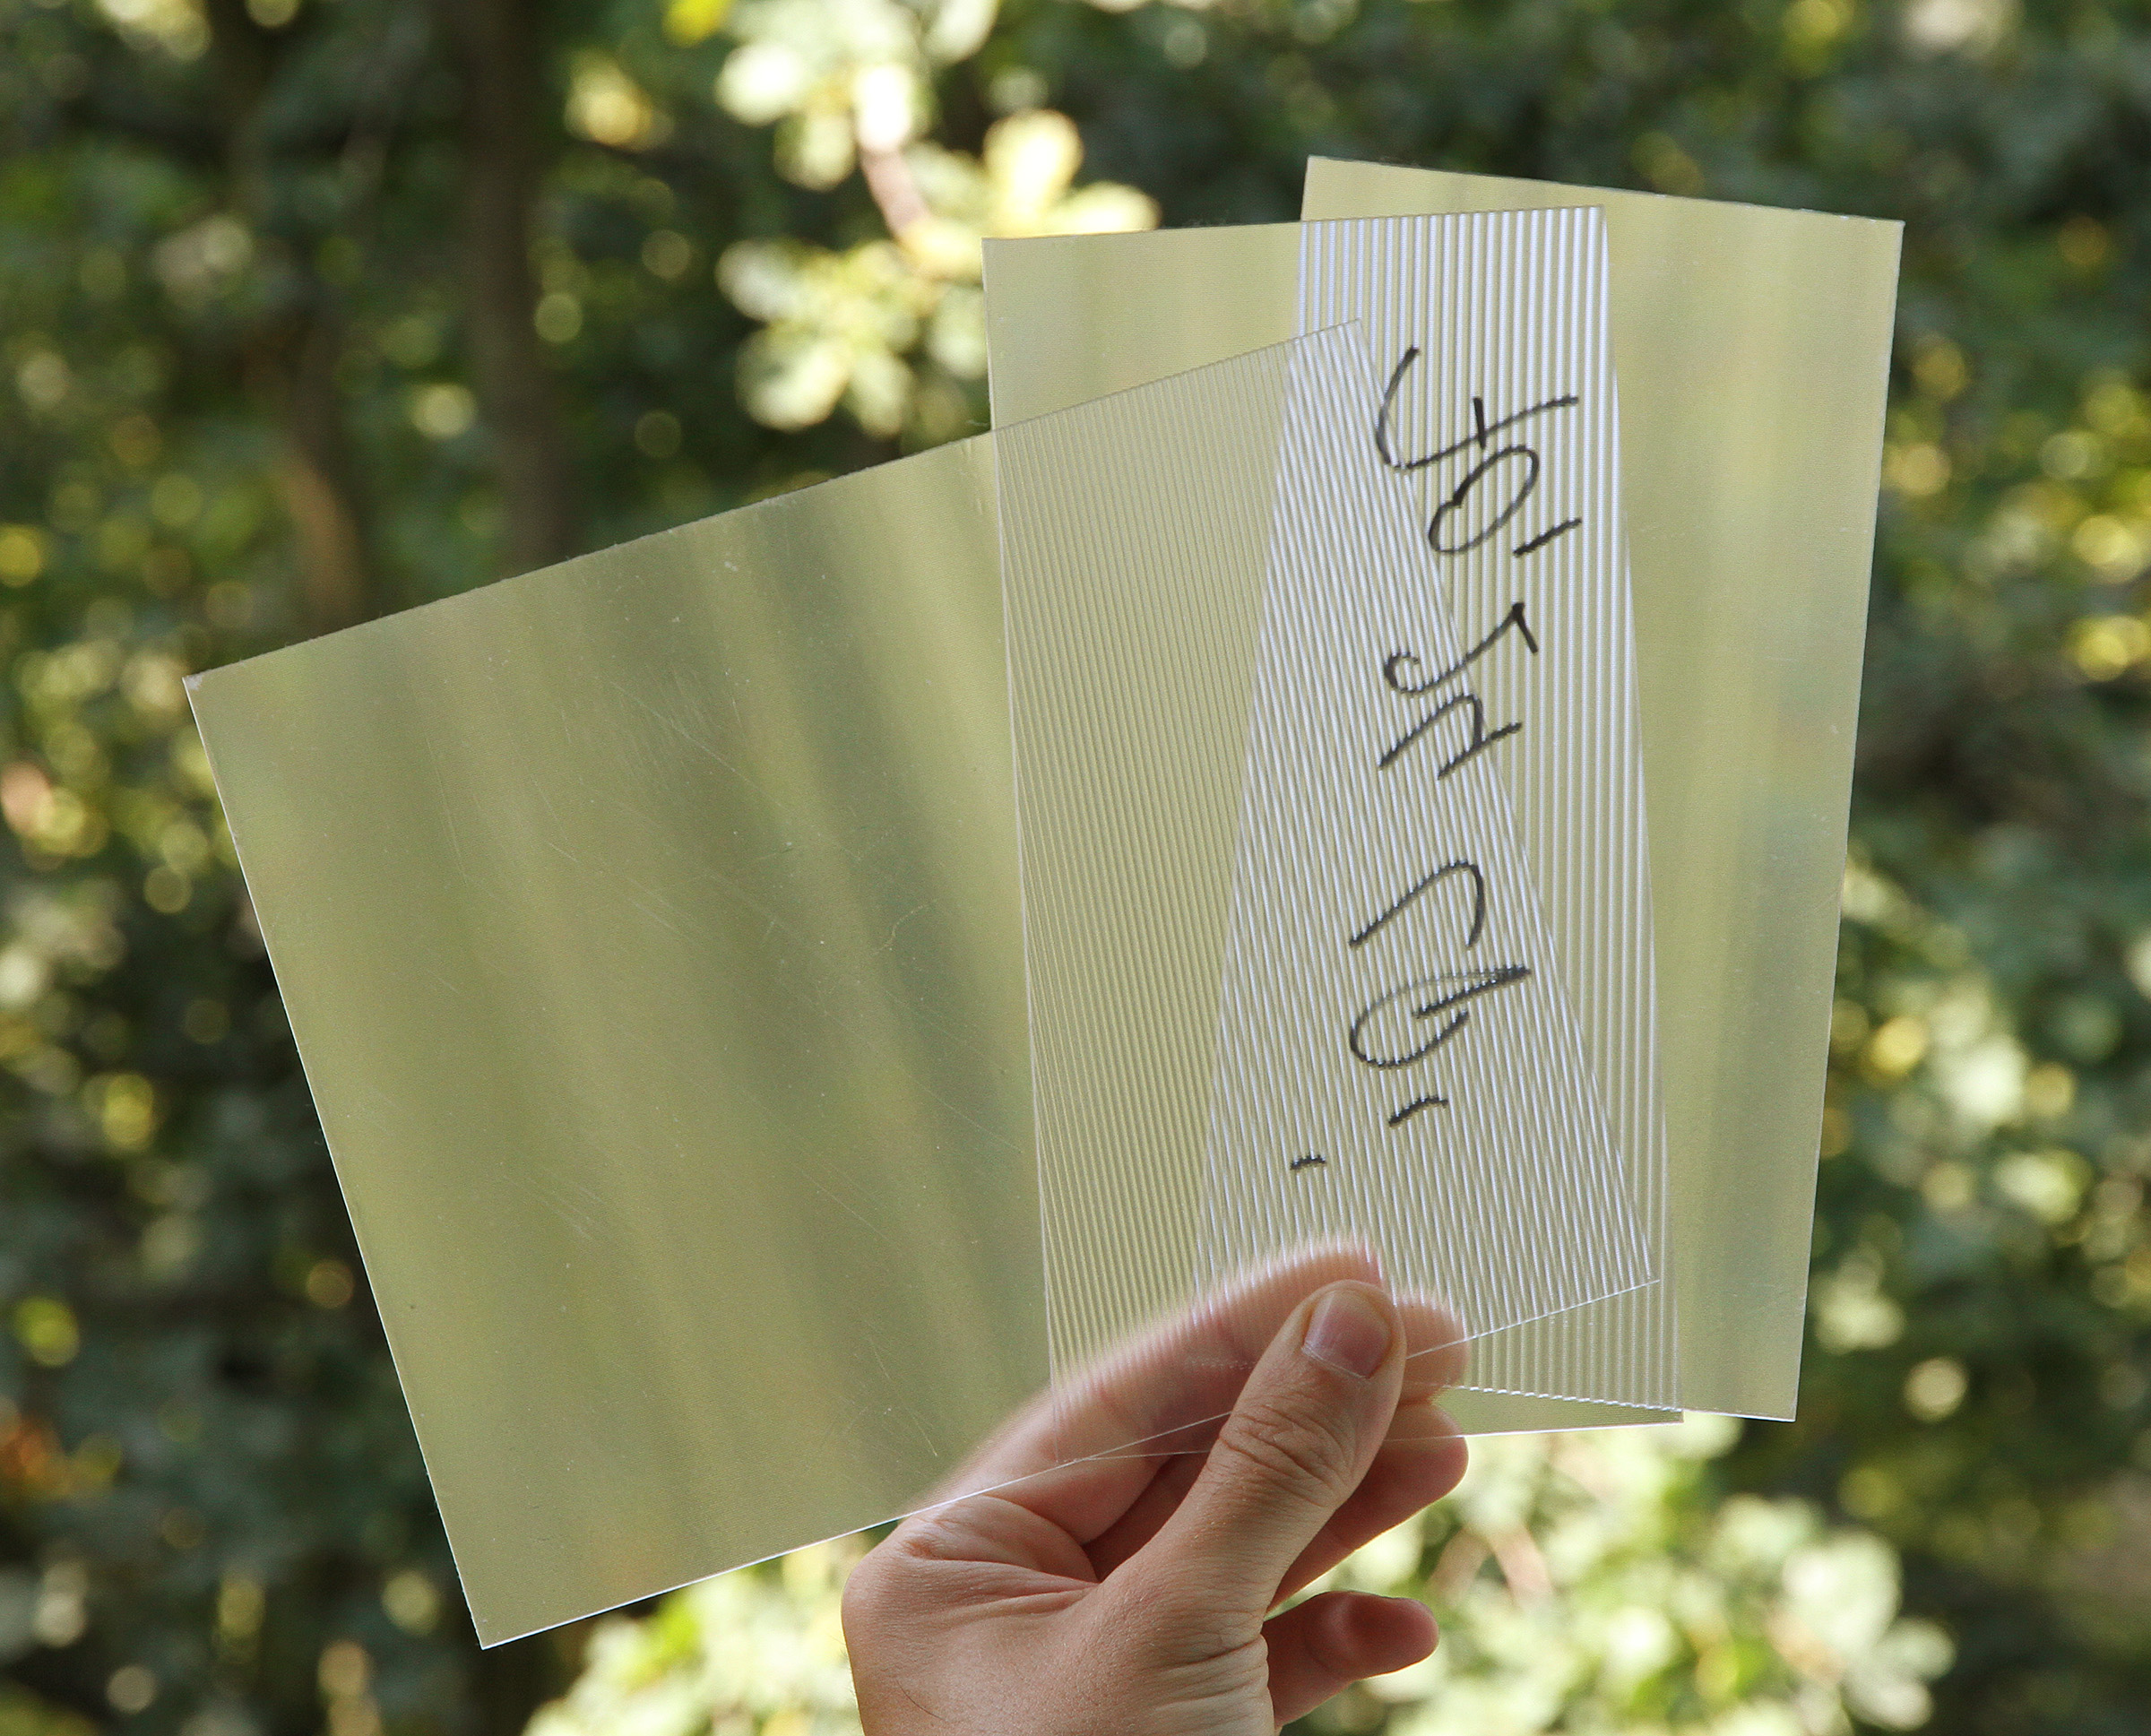
A couple of test lenticulars – notice that one of them has been measured to 70,24 LPI exactly – meaning Lenses-Per-Inch
Anyhow, in the end – if you want to get into it, a LOT of testing is required. And we recommend, getting som simple lenticular foils yourself, just for testing.
The final result of the card – the 3d effect is ok, but could be stronger – we’ll stay on it!
Last but not least we want to point out to our partners ArtX in Berlin, which helped us massively preparing our scene to get the most out of it. We’ll stay on it!
Project:
holographic print - Mars Haibitat
Participants:
concept and motive: xoio GmbH
3d-Lenticular Print: art-X, Berlin