After several days of sanding and filling we finally got that smooth touch – ready to apply the first coat of paint
3d-printing // smooothing it out
Well, there it finally is! Our first completed 3d printing project. We were invited to show our Mobuno concept at an conference including a small exhibition area. So we decided to finally give the amazing Prusa Mk2 a real job to do.
The scale model of 1/10th was too big to do it in one go, so we split up the model in half. That also helped to reduce the stepping on most of the model.
Each half of the model printed about 25 hours. Unfortunately the model warped at the edges of the base, so glueing the two halfs together left gaps in the middle, which looked bad. So, leaving it in the original silver filiament was no option – we had to paint it.
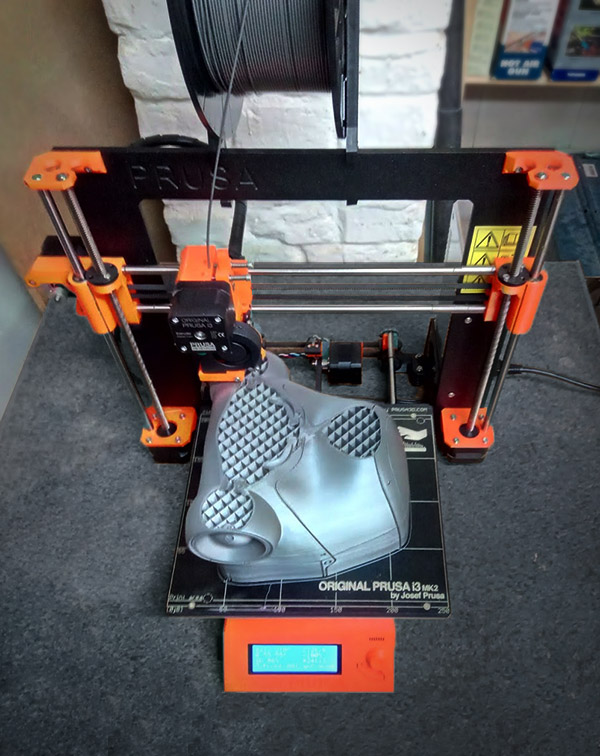
First half almost done, 20 hours in.
We decided to see how far we could get it smoothed. I bought some Revel Modelling filler. As I learned later some regular wood filler does work, too and comes in bigger units. Next time! Basically we used the filler straight away to fill the worst stepping from the print layers. After that it was a lot of sanding and filling, times again and again.
Don’t be shy to start with a pretty coarse sanding paper and smooth it out later. After that spraying the model was pretty straightforward. We tested to spray the windows in black …. which looked horrible and cheap. Lesson: You see irregularities much better on darker surfaces. So we kept it white – guess it was a good decision.
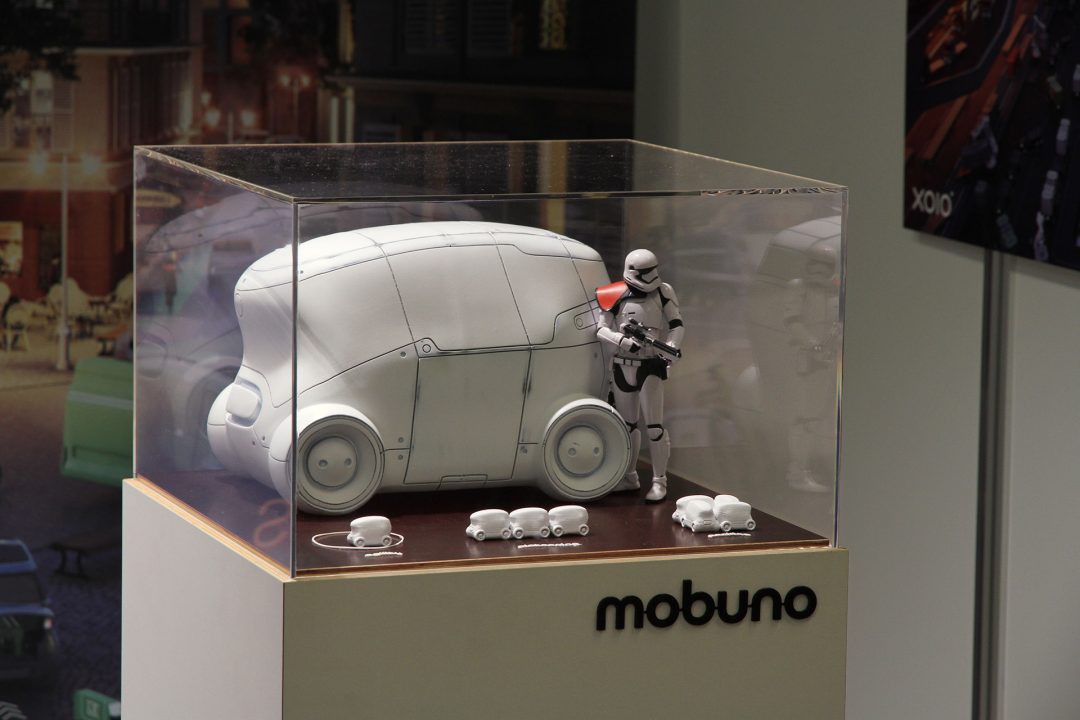
The final presentation model – we decided to sand off some edges to give it a very subtle worn look
Project:
3d printing - smoothing it out ...
Participants:
concept: xoio GmbH
printer: Prusa i3 Mk2
Date:
March-Juli 2018